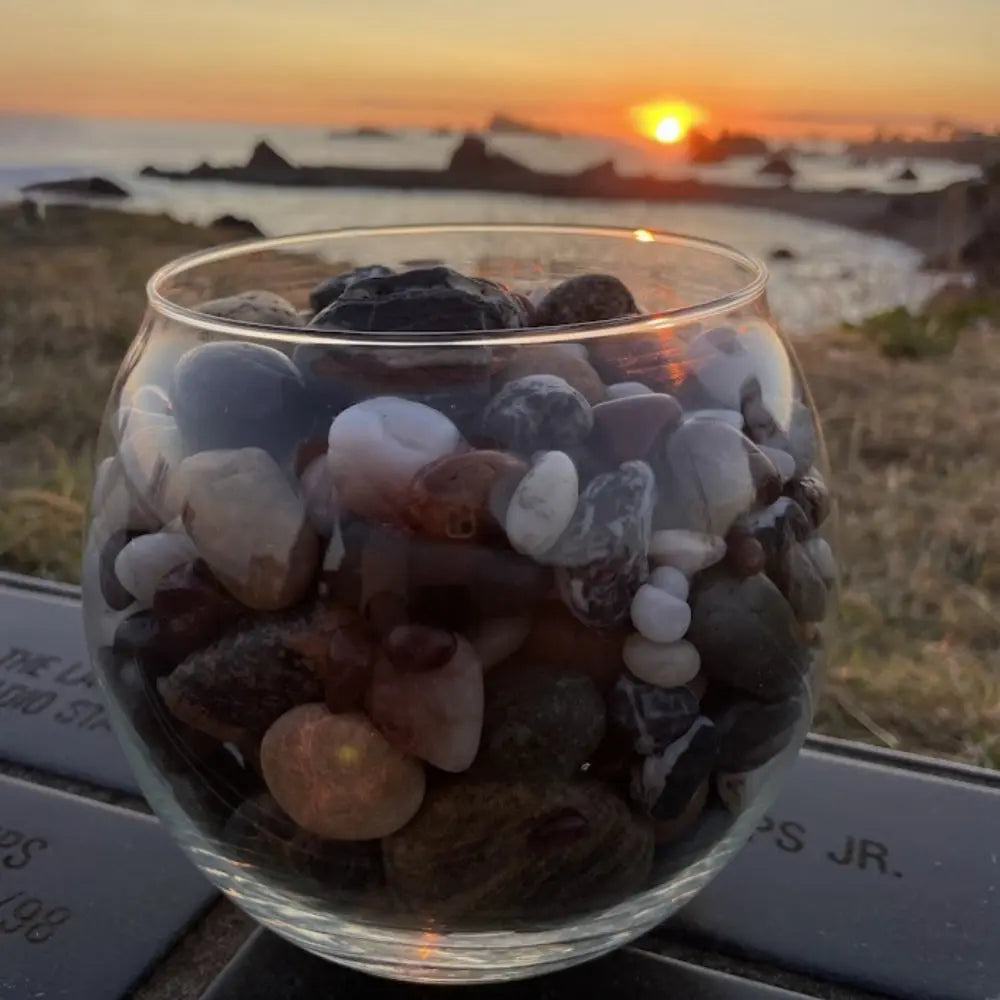
Make Your Collected Rocks from Beaches Shine
Collecting rocks from beaches can be a fun and rewarding hobby. Each rock tells a story, shaped by the waves and sand over time. But sometimes, these treasures can lose their luster once you bring them home. If you’re looking to restore that seaside sparkle, here’s how to make your collected beach rocks shine.
1. Gather Your Supplies
Before you begin, make sure you have the following supplies:
- Mild dish soap
- Warm water
- Soft-bristle brush (an old toothbrush works great)
- Soft cloth or towel
- Mineral oil or baby oil
- Small container or bowl
- Polishing cloth or buffer
2. Clean the Rocks
Start by giving your rocks a good clean. Fill a container with warm water and add a few drops of mild dish soap. Place the rocks in the soapy water and let them soak for about 15-20 minutes. This helps to loosen any dirt or grime that might be stuck to the rocks.
3. Scrub Away Dirt
After soaking, take each rock out and gently scrub it with a soft-bristle brush. Pay attention to any crevices where dirt might be hiding. Be gentle to avoid scratching the surface of the rocks.
4. Rinse and Dry
Rinse each rock thoroughly under warm running water to remove any soap residue. Pat the rocks dry with a soft cloth or towel. Make sure they are completely dry before moving on to the next step.
5. Apply Mineral Oil or Baby Oil
To bring out the natural colors and give your rocks a shiny finish, apply a small amount of mineral oil or baby oil. Put a few drops of oil on a soft cloth and gently rub it onto the surface of each rock (or you can do what I do when impatience strikes—toss a bunch of them into a bowl of mineral oil, give them a good swirl, and then rub the oil into your hands. It’s great for softening! ~ LOL!). The oil helps to enhance the natural beauty of the rocks, making their colors more vibrant.
6. Buff the Rocks
After applying the oil, let the rocks sit for a few minutes to absorb the oil. Then, take a clean, dry cloth and buff each rock to a shine. If you have a polishing cloth or buffer, you can use that for an even shinier finish.
7. Display Your Treasures
Now that your rocks are clean and shiny, it’s time to display them! You can arrange them in a decorative bowl, use them as paperweights, or create a beautiful centerpiece. Shiny rocks can also make unique and thoughtful gifts for friends and family.
Bonus Tips
Seal the Shine: If you want a longer-lasting shine, consider using a rock polish or sealant available at craft stores. Follow the manufacturer’s instructions for the best results.
Avoid Harsh Chemicals: Stick to mild soap and water. Harsh chemicals can damage the rocks and strip away their natural beauty.
Be Patient: Some rocks might take a bit more time and effort to shine. Be patient and gentle throughout the process to avoid damaging your collection.
Collecting and shining beach rocks is a wonderful way to bring a piece of the beach back home with you. By following these simple steps, you can ensure that your beach treasures always look their best adding a touch of coastal charm to your home. Happy rock collecting and stay beachy!


